In this article, you will learn how to send great tips to your UX designers.
Regardless of what type of app or website you want to design (a blog, e-commerce shop, or any kind of application), success in designing good and appealing projects depends on being able to communicate effectively with UI and UX designers. Effective communication is so important, as a number of potential issues need to be considered with a web design checklist. Unfortunately, a lack of communication between client and designer may see you end up spending more time and effort on a single project, while the result will fail to meet your expectations.
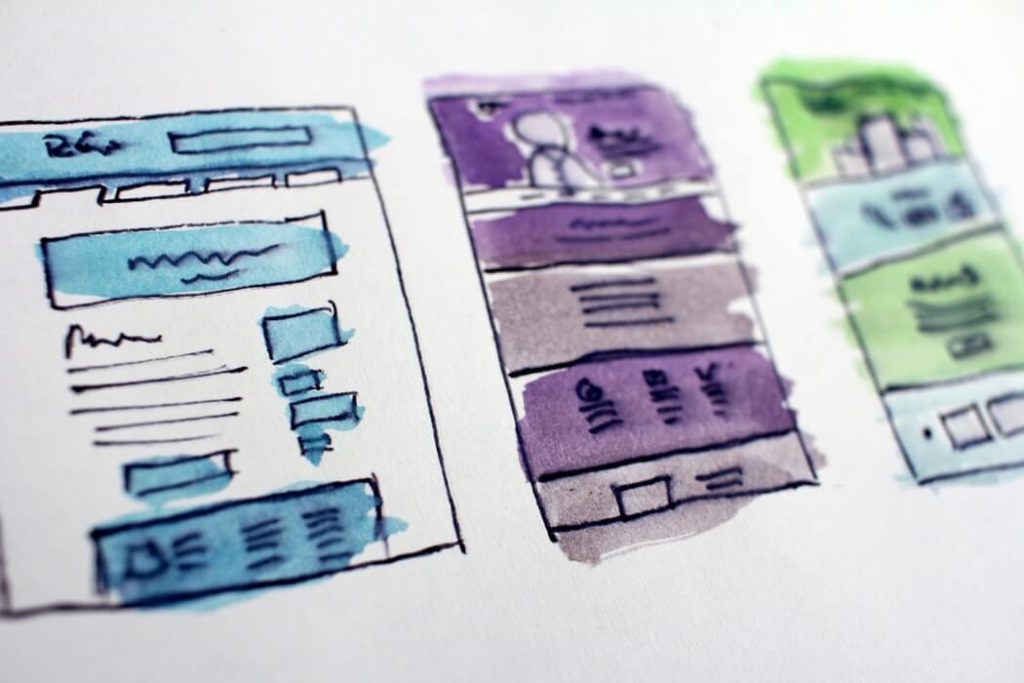
However, trying to explain a visual concept using just words, writing emails or typing on Slack can be hard. Meetings aren’t the best idea because they take so much time. Things like typography, margin, pixels, colors, fonts, and layout are hard to explain verbally, not to mention via email.
Take Screenshots and Capture Videos
You need to be able to show them, and screenshots are the most effective way to help them understand how you actually want the design to appear. For example, you can take a screenshot of other websites that inspire you. This helps you get your head around where you’re going with your site design. Show off these concepts to UI/UX designers before they lift a finger on their end.
When a project is in progress, screenshots let you send quick feedback by adding annotations to the design – that makes your team more agile. We have a great Sketch and Photoshop integration designers will just love. Read all about it in this article.
Screenshots with Droplr
If you want to go one step further, mark up your screenshots with Droplr. This lets you add annotations to clearly communicate what you like about different pages, or even just certain parts of them. Rather than sending tedious emails, setting up long meetings or conference calls with designers, you simply send them screenshots of your concept and design.
Screenshots are a great communication tool for website designers and developers, and really for every creative person. They make collaboration across teams simple. Fonts too small? Line length too long? Image not scaling properly? Low contrast colors? All of these issues can be quickly communicated by harnessing the power of screenshots and quick recordings of your screen in real time.
How to take screenshots with Droplr
All you need to do is download the Droplr app for Mac or Windows, or install the Chrome or Edge extension. Then, click on the Screenshot feature. Click and drag to select the portion of your screen you want to capture. Your screenshot will appear on your Droplr account, and a link to it will be copied to your clipboard. Share the link with your designers and help them understand what you want out of web design. Check out this article to learn more about how the screenshot feature works.
Screencasts with Droplr
To capture video, click on Screen Recording and you will be able to record your screen, walk your designer through a problem, or demonstrate an example of how to solve it. Droplr saves the video as an MP4 file, with a link you can share via email, Slack, Hangouts, or however else you communicate. Here you can find more information about screencasts in Droplr.
Annotate for clarity

Want to draw attention to one particular UX detail? It’s super simple. To use annotation, press Option + Shift + 3, and Droplr will grab a screenshot and open the annotation dialogue so you can add some text, draw arrows, or just scribble on the image before transferring it to the cloud, and get a Drop link in seconds. You can also annotate any drop by clicking the “Markup” button in the top right corner.
Cut confusion, save time, and solve more problems with Droplr.


